|
Tis the season for Minnesotans to start layering up for winter, and our house is no different. The foam insulation that was delivered last week was installed downstairs. The edges were then taped or spray foamed for a tight seal. After that was done, our radiant heating tubes were methodically laid out and stapled to the top layer of foam. All of the radiant tubes are gathered in one place in the mechanical room. Until we have walls, they have a temporary 'home' as seen in the second photo. They won't be lonely for long though, as more radiant heating tubes will be going in upstairs. This last week we also had spray foam insulation being applied to nooks and crevices upstairs. Air barriers were also applied to the inside of the walls after the spray foam. Holes have been drilled along the top of the walls, in the house, so the cellulosic insulation can be blown in at a high pressure (for the best long term performance). The guys from Kinzler had recently just finished another net zero home. In that home, they blew in the cellulose at a high pressure prior to the drywall being installed. This is the typical order. The only issue with doing it in this order, they discovered, was that the drywall guys had to get four guys to get each section of the drywall flat against the frame of the wall! They recommended we install the drywall first, so the drywall guys wouldn't send us a lump of coal for Christmas ;-) We happily learned from their experience and agreed that we want this to run as smoothly as possible for everyone, so we will be installing the drywall first, and then blowing in the cellulose. The garage, and the causeway, between the garage and the house, are a different matter though. These areas are not heated and don't have as much insulation. Thus it will be much easier to apply the drywall after the cellulose is blown in. In those areas, they stapled a material over the frame of the walls and blew in the cellulose. I have pictures above of the prepped areas and then the same areas after the blown in insulation. The insulation bulges out a bit, but is easy to push flat. For these areas, the guys cut a hole in the membrane and blew the cellulose in. You can see these in a couple of the photos. Using the tube, they would start at the bottom and work their way back up. Then, move the tube to the top and work their way back again. They were also nice enough to ask me if I wanted to give it a try! Next week, I'll take them up on that when we do some of the insulation in the house. I am very much looking forward to it. I find it very satisfying to play a small role in helping with the house, as long as I can stay out of the way of the experts. Also shown above, is a close-up of the insulation itself. This stuff is wonderful. It is made up, almost completely of recycled content. Recycled newspapers, shredded fabric, even shredded up credit cards. It also does a really good job as insulation. Per inch of thickness it isn't as good an insulator as the spray foam. However, it takes much less energy to make, uses recycled products, and is not toxic (when installing the spray foam the guys wear full body suits and a rebreather). Because it is blown into areas, it doesn't do a great job filling in corners and crevices, which is why we use the expanding spray foam in areas like that. It will expand to fill even the smallest crevice. This is also one of the reasons a simpler exterior wall structure is more environmentally friendly. The more recycled cellulose vs expanding spray foam, the better. On the outside of the house, all those geothermal tubes sticking up out of the ground have now been buried.
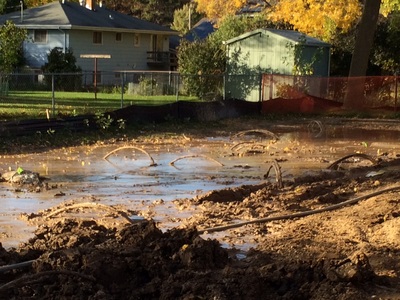
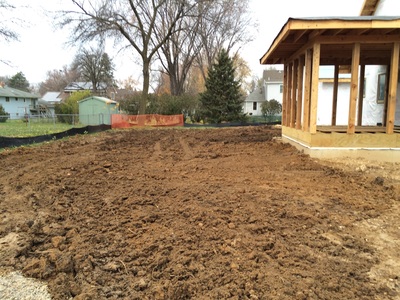
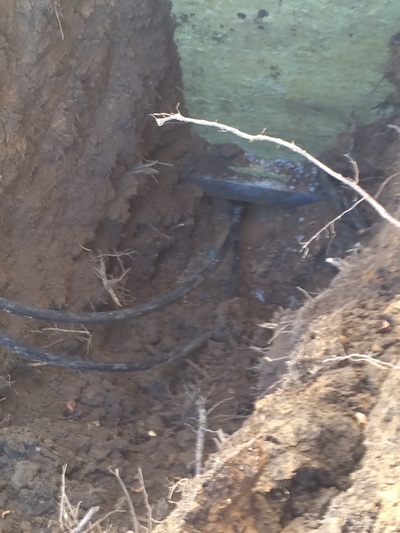
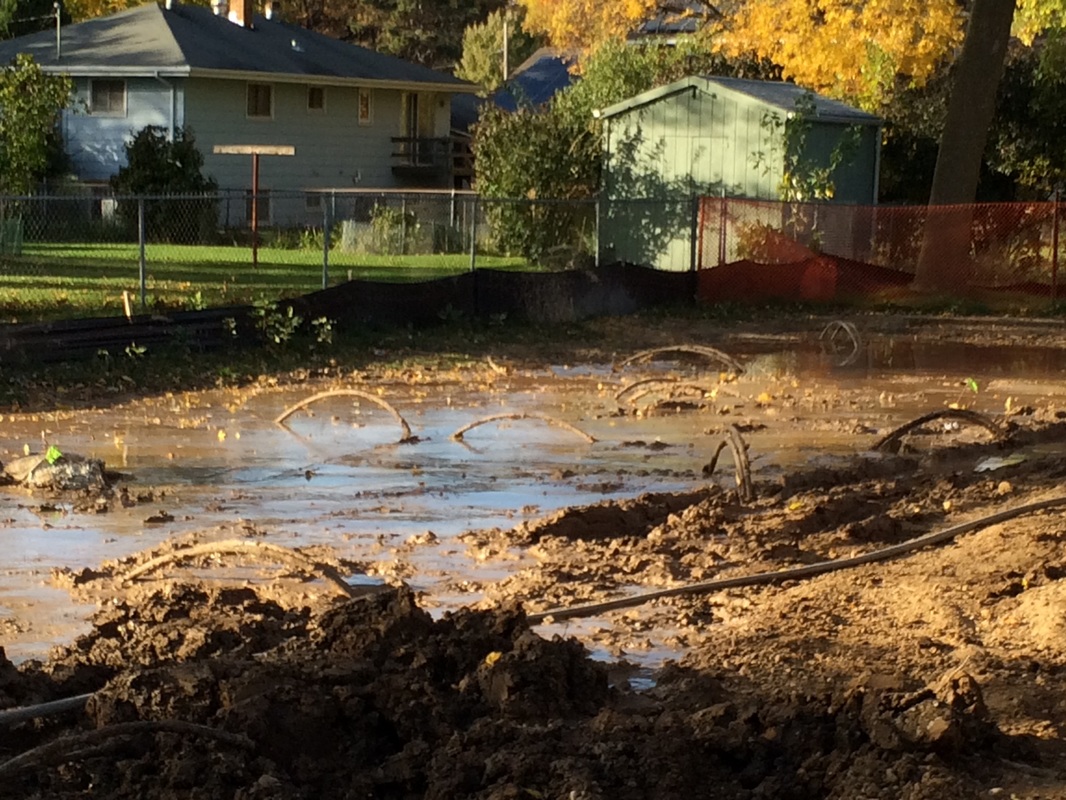
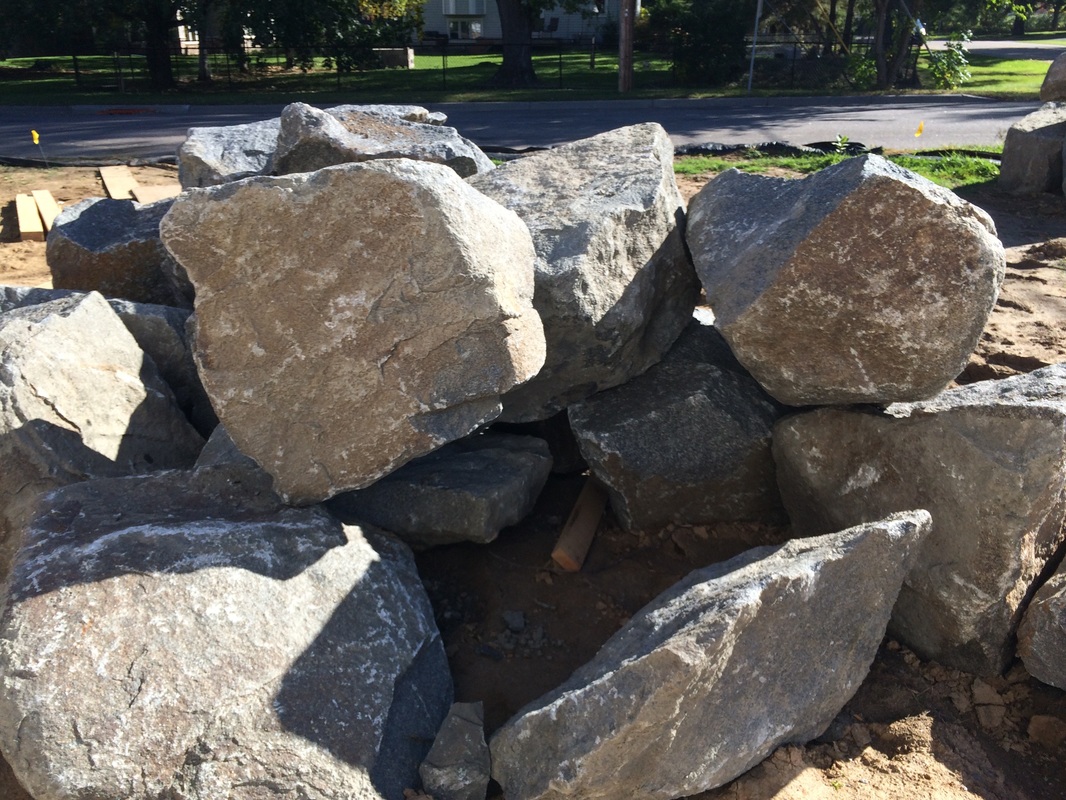
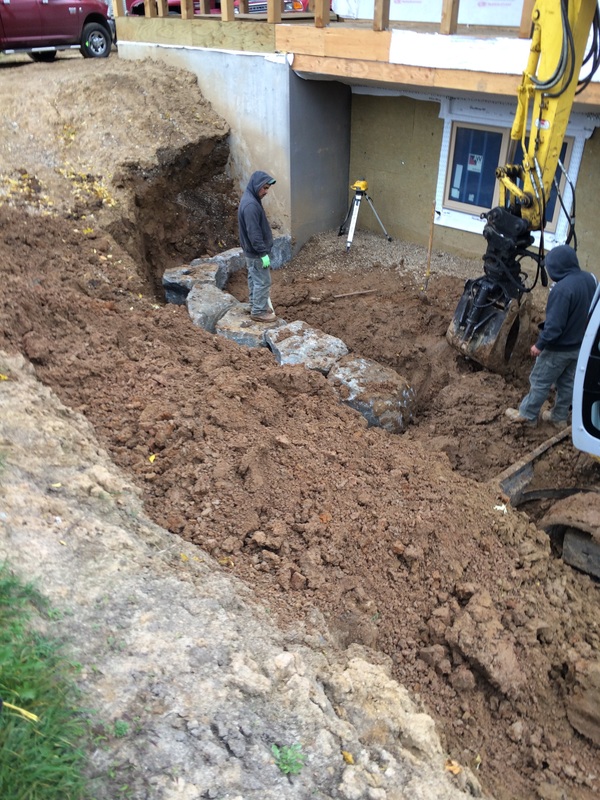
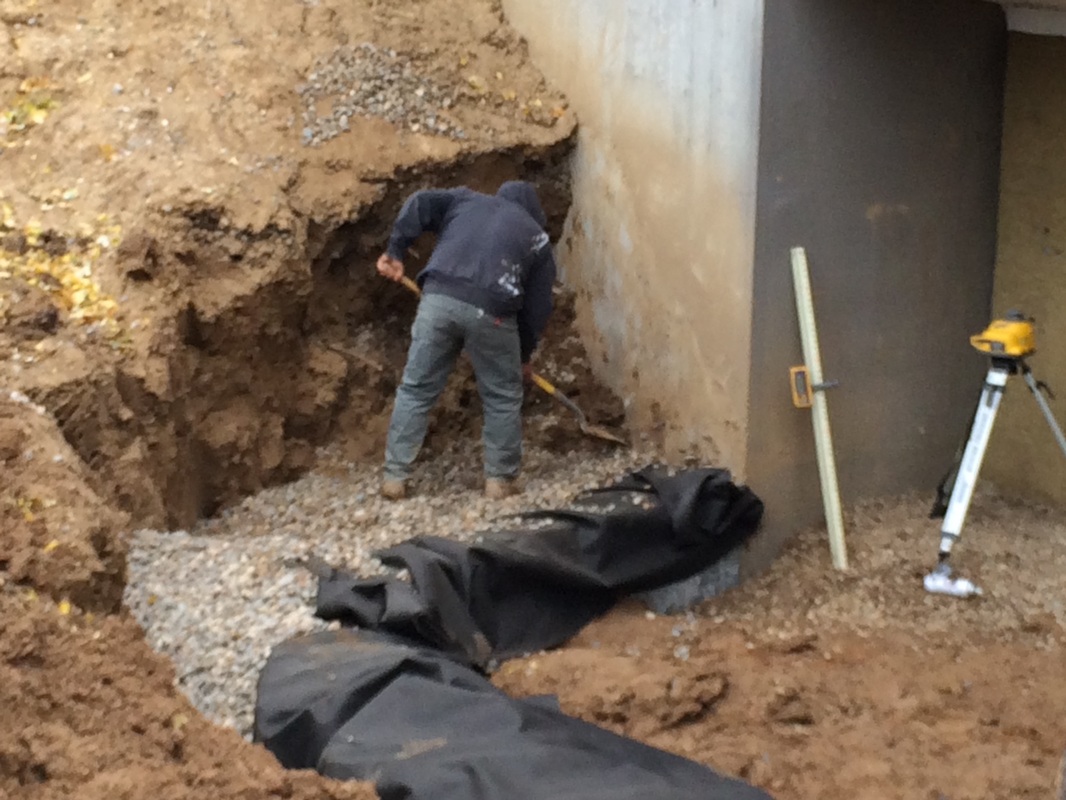
The guys dug down six feet and connected the fourteen, 110 foot wells in seven pairs. Those were then connected to a single return tube which can be seen in the third photo entering the house. Both our domestic hot water and HVAC system run off the geothermal. Rather than separate wells for hot water and HVAC, with a single source, if only one of the two systems are running, it can gather heat from all the wells. At the end of last week, we had a bunch of tubes sticking up through a very sloppy mess. Now, nothing is visible and the back yard, while not exactly pretty, just looks like dirt, rather than a swamp. And then, and I can't exactly explain it, the thing that made me happiest this week happened... The guys poured our cement floor in the basement! Yes, we actually have a floor down there now. It feels soooo much better having a concrete floor rather than rocks. In a couple of the photos you can see the concrete doesn't go all the way to the walls. This was done by placing 2"x4"s along the wall, and then expanded foam inside the wood. The wood will be removed, and the foam cut to be even with the concrete surface (the foam will be removed if it doesn't cut evenly). The gap will then be filled with spray foam (again, for its superior insulation value). We will be polishing the concrete which will act as more thermal mass for us. With the radiant floors, we expect it to be very comfortable down there. Also added to the concrete are devices called "Zip Strips". These basically "encourage" the cracks in the concrete to follow the zip strips. It won't make it crack any faster. But when it does, it will crack where we want it to rather than some random location. Since the polished concrete will be our floor, this is especially important. Much of the path of the cracks will be under walls, or other areas that are less noticeable. I'll try to get some photos of these for next week. Currently, we are planning on a February or March completion date. Earlier we were hoping for January. However, little delays here and there tend to add up and cause other rescheduling issues. While we are very eager for the house to be complete, it is even more important that it be done right. I also do not mind at all, the idea of moving in March rather than January! The garage and causeway will be poured this week (today actually) and lots of other goodies are in store for next week. Lots of activity last week. Much of it detail work, which was very important, but doesn't show well in photos. Two of the BIG jobs though were the drilling of the geothermal wells in the back yard and the completion of the retaining wall on the south side of the house. In the slide show above, I have shots from a number of angles showing the work by Southview Design. This was all done by two guys, for whom we are grateful. Not only were they very good at what they were doing, they are artists. Pictures just don't do this thing justice. The crane layed out each boulder, rotating, and spinning the boulders like a major legaue pitcher deciding which pitch to throw. Laying each one down at just the right angle and side to make a stable platform for the next row of boulders, while also providing pockets for plantings and a stairway to climb if needed. As it did so, it would slowly back up, until it had backed out of the pit. From above, it finished excavating the side of the hole it just climbed out of, making the side steeper to match the other side of the wall. It was fascinating to watch and I am happy to have gotten as many photos as I did. I did miss their last day of work so the end is missing a few steps. As I mentioned last week, the boulders are from Cold Spring Minnesota. We were very happy that we could find boulders locally that are so beautiful. The retaining wall is built in such a way to allow plantings along the wall, and to provide a way out of the lower level in an emergency. In a number of the photos you may notice a white tube. These are for drainage and will be left until after winter. After the boulders, rocks and soil settles over the winter, the excess will be cut back. A few photos also have trucks in them. Those were used for drilling the geo thermal wells. We also have a sump pump at the base, so if we get more water than the drain tile can handle, the excess will be pumped out to one of our rain gardens. Our goal is to allow any water that falls on our lot (and a bit from the street) to soak into the ground naturally and not via the sewer system. Below is a panoramic photo of the entire retaining wall from below. The distance gets very distorted, however this gives a fun perspective of the scale of the wall. On the far right is the sump pump and you can see one of the drainage tubes in the middle. The wood structure above the wall in the center is a temporary electricity meter. That will be disappearing. For the other major project of the week, the geo thermal wells were completed!
We have fourteen wells that each go down 100 feet. The crew drilling these wells have a very muddy and exacting job. We can't express our thanks appropriately, but will do out best at next springs house warming for all the contractors! We also want to thank our neighbors for letting the crew use their hose for a few days (they are invited over anytime:-)). Ten of the wells are for our HVAC system while four are for our domestic hot water supply. These are designed to support 100% of our heating, cooling and hot water needs. This system is the heart of our house, heating us in the winter, cooling us in the summer, providing hot water year round. We have no natural gas service to the house. Our planned backup is a battery backup system to allow HVAC, a TV and the fridge to continue to run. In the summer, we don't believe we would need the battery backup even in case of a power outage, due to the solar panels and a much lower level of power needed. In the winter, it will definitely be needed in the event of a power outage lasting more than 4-6 hours. While the geothermal system is functionally critical to the house, please don't judge my appreciation for the geo thermal system by the number of photos. It is just that the results of the wells are not as photogenic as the results of the wall ;-) Lots of activity this week! As of Monday, all the windows, except for a single window in the garage, are in place! The largest window was delivered in two parts, which were assembled into one giant window on Friday. The missing windows were also delivered over the weekend. Monday, our wonderful framers (Chris and Corey), installed all three. For the big giant window, they got some help from the phenomenal crew from Southview Design! Southview Design is handling our landscaping, including the construction of a retaining wall along the south side of the house. This allows us to get additional natural light downstairs, giving us some passive solar downstairs as well as on the main floor. The guys from Southview helped as spotters on both sides while moving the window, muscle, and driver. With little room left, and because I didn't want to get in the way, I took pictures;o) These guys worked great together! I was surprised how smooth it worked and can't express my thanks enough for the cooperation between the two crews.
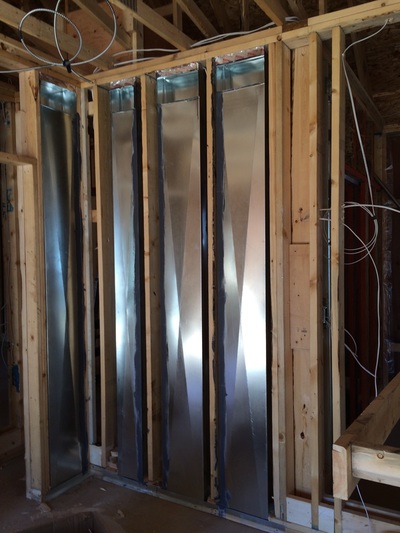
The HVAC guys have positioned more air returns, which is wonderful, although I can't walk through walls like I used to!
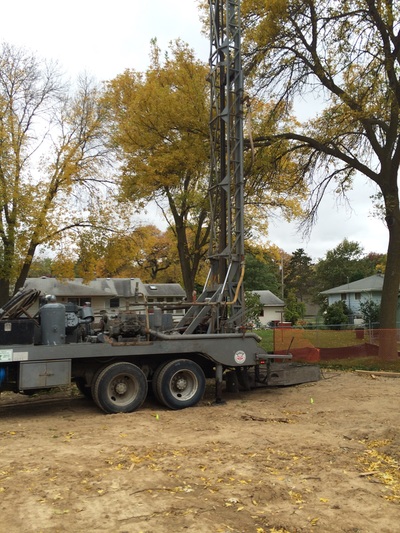
The crew that will be drilling the wells for the GeoThermal arrived today to set up. I am hoping the drilling will start tomorrow. The electrical is almost done on the main floor. We have a bit of fine measurements to do for some of the exterior outlets, lights, etc and a couple details inside. |
AuthorMark really doesn't like to talk about himself, the house is much more interesting. Archives
September 2020
Categories
All
|
